IDX Integration Explained: What It Is and Why It Matters
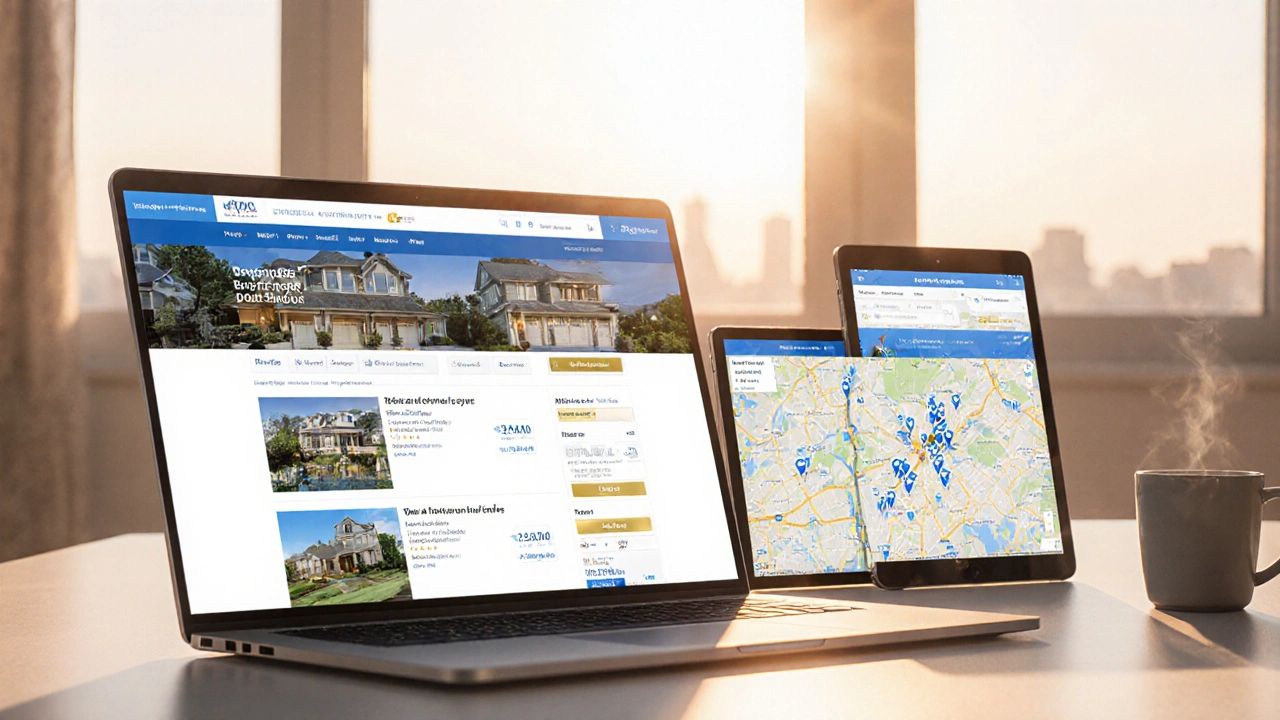
If you run a real estate website, you’ve probably heard the term IDX integration. In plain words, IDX (Internet Data Exchange) lets you pull live MLS listings straight onto your site. That means visitors see up‑to‑date property data without leaving your page. The result? More time on your site, higher leads, and better search rankings.
How IDX Works Behind the Scenes
MLS boards own the listing database. They give approved brokers a secure feed—usually XML or JSON. An IDX provider reads that feed, formats the data, and displays it on your site through widgets, search forms, or custom pages. The key is that the feed updates automatically, so any new house, price change, or sold status appears in minutes.
Because the data is coming from the MLS, you must follow the board’s rules. Most boards require a broker’s license, a clear branding policy, and a compliance link back to the MLS. Ignoring these rules can get you shut out of the feed.
Step‑by‑Step Guide to Add IDX to Your Site
1. Choose a reputable IDX provider. Look for good uptime, fast load times, and strong support. Popular options include iHomefinder, IDX Broker, and Real Geeks.
2. Get board approval. Your broker signs the agreement, provides credentials, and the IDX provider handles the paperwork with the MLS.
3. Install the plugin or code. For WordPress sites, most providers offer a plugin you can activate in a few clicks. If you run a custom site, you’ll embed a JavaScript snippet or API call.
4. Configure search filters. Set the default radius, price ranges, and property types that match your market. Too many filters can slow down the page; keep it simple.
5. Style the listings. Use your brand colors and fonts so the IDX area looks like the rest of the site. Most providers let you edit templates or use a drag‑and‑drop builder.
6. Test the feed. Search for a known address, change a price in the MLS, and confirm the update shows on your site within a few minutes.
7. Monitor performance. Use Google Analytics to track page views, bounce rate, and lead conversions. An IDX page that loads slowly will hurt both users and SEO.
8. Stay compliant. Keep the required MLS attribution link visible, update your Broker‑of‑Record info, and review any rule changes from the board each year.
Following these steps usually gets a functional IDX page up in a week. If you hit a snag, most providers have 24/7 support—don’t hesitate to use it.
Now that you know how to install IDX, let’s talk about why it helps your SEO. Search engines love fresh content, and IDX pages automatically generate new listings every day. Each new property creates a unique URL, a new title tag, and fresh meta description. That gives you dozens of indexable pages without writing a single blog post.
To maximize the SEO boost, add a short, keyword‑rich description above each listing. For example, "2‑BHK apartment in Whitefield, Bangalore – 1,200 sq ft, 3.5 Lakh, ready to move." Keep the description under 160 characters so it shows well in search snippets.
Also, use schema markup. Most IDX providers include RealEstateListing schema automatically, but double‑check the code in Google’s Rich Results Test. Proper schema can earn you a “property” rich snippet, which improves click‑through rates.
Finally, think about lead capture. Add a simple form next to each listing: name, phone, email, and a checkbox for consent. Offer a free market report in exchange for contact info. This turns a passive visitor into a potential buyer.
In short, IDX integration is a low‑maintenance way to keep your site full of fresh, searchable listings. Pick a solid provider, follow the board’s rules, style the output to match your brand, and watch both traffic and leads rise.
Build a High‑Performing Real Estate Website in 2025
A step‑by‑step guide to building a fast, SEO‑friendly real estate website in 2025, covering IDX integration, platform choices, lead capture, and ongoing maintenance.
Keanu Rutherford | Sep, 29 2025 Read More
